

Overview
Before you can run any verifications or manage claims, you need a Verify Group account. This page explains how to register a new account, log in to an existing one, and what to do if you run into problems at sign-in.New to the platform? Your organisation administrator typically invites you by email. Check your inbox for an invitation link before attempting to register manually.
Logging in
If you already have an account, go to platform.verify-score.com to reach the login screen.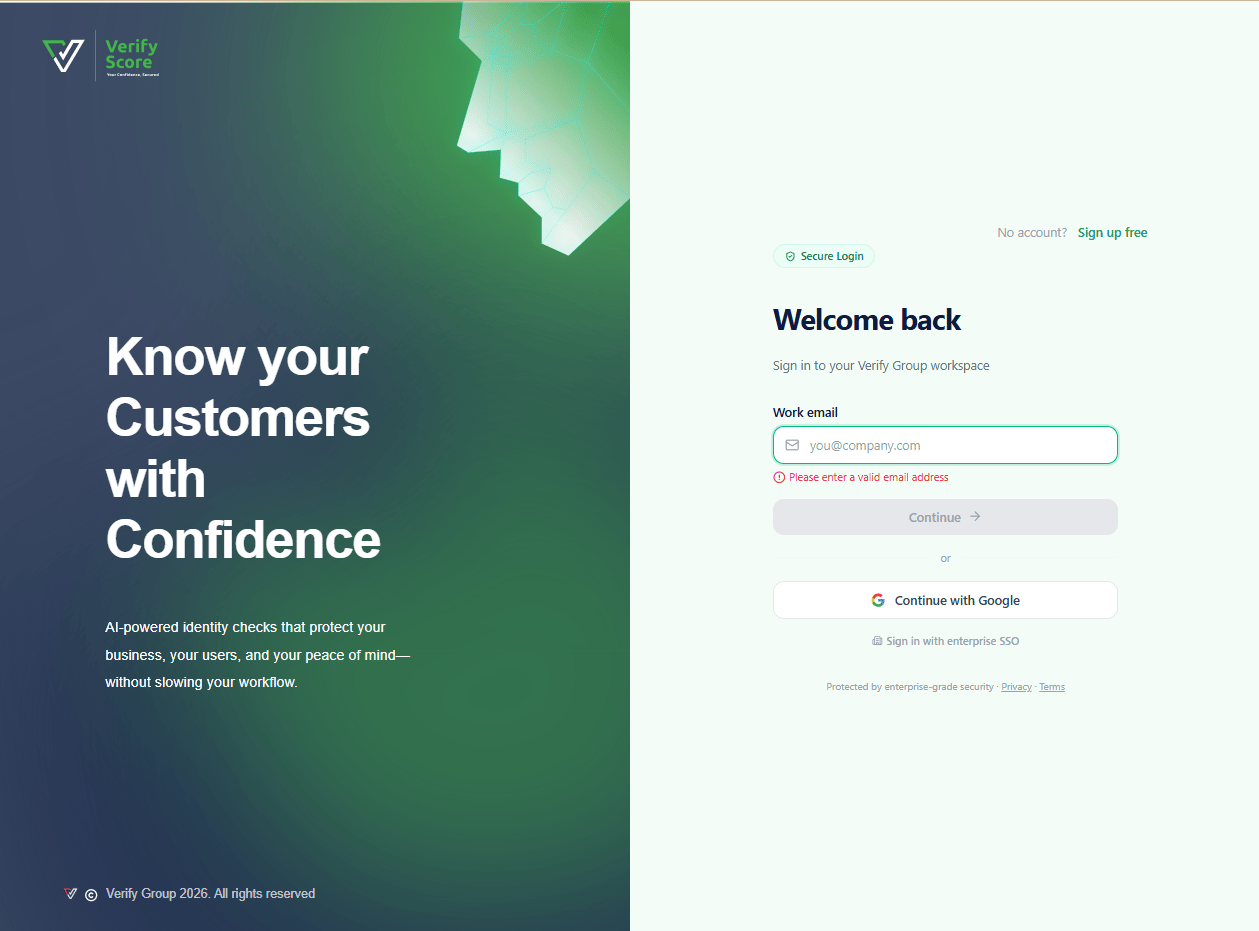
1
Enter your email address
Type the email address associated with your Verify Group account into the Email field. This is usually the email your administrator used when they invited you.
2
Enter your password
Type your password into the Password field. Passwords are case-sensitive — make sure Caps Lock is not accidentally on.
3
Click Sign In
Click the Sign In button. If your credentials are correct, you will be taken directly to the Dashboard.
Registering a new account
If you are setting up a brand-new organisation on Verify Group, you can create an account from the registration screen.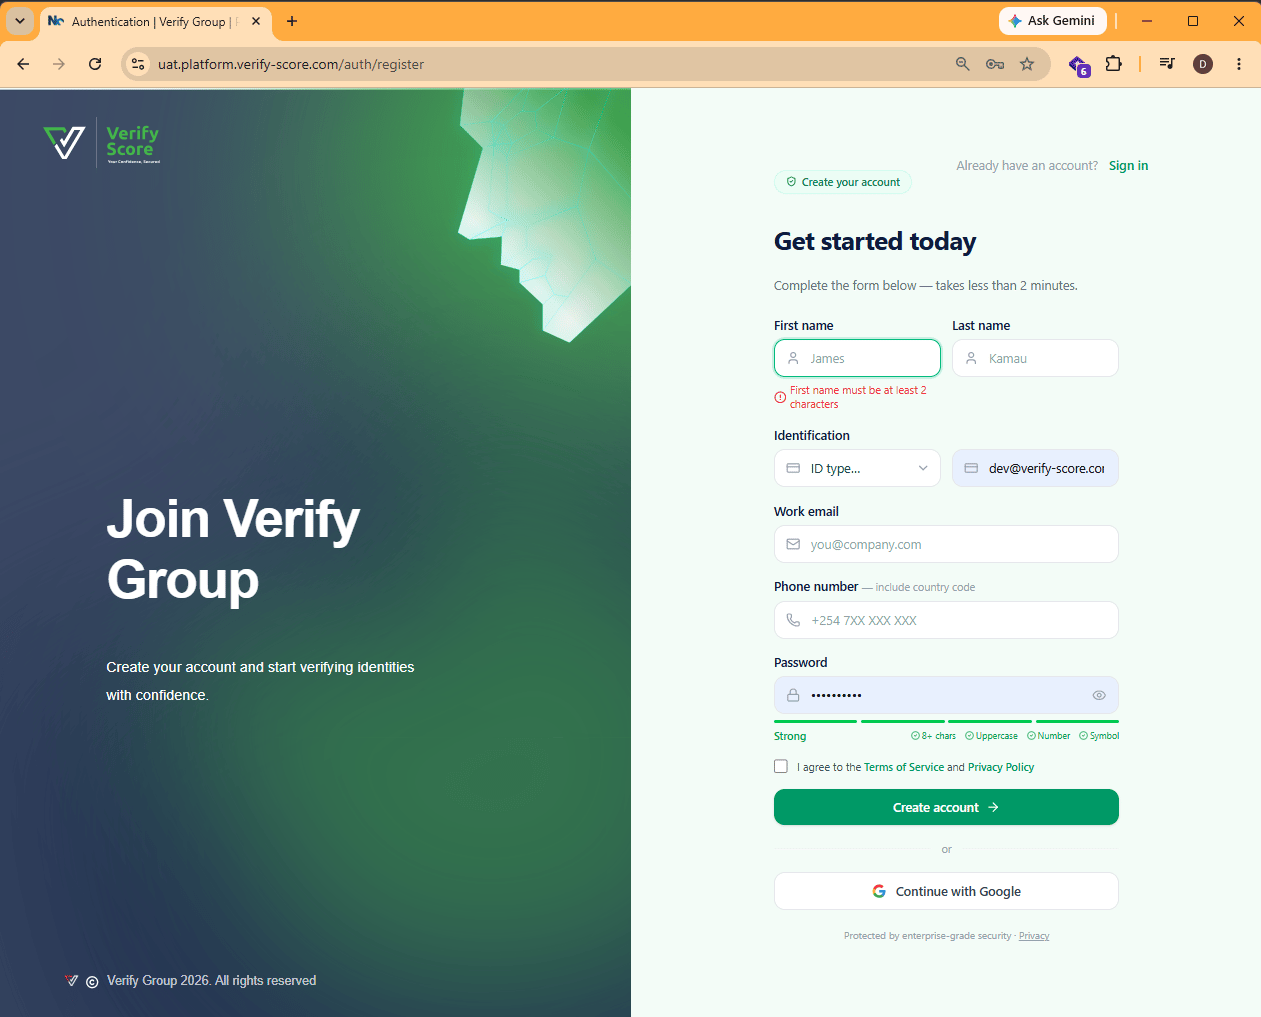
1
Open the registration page
From the login screen, click Create an account or navigate directly to the registration URL shared by your Verify Group onboarding contact.
2
Fill in your personal details
Enter your First name, Last name, and Email address in the corresponding fields. Use your work email address — this will become your login username.
3
Choose a strong password
Enter a password that is at least 8 characters long and contains a mix of uppercase letters, lowercase letters, numbers, and symbols. Enter it again in the Confirm password field to make sure it matches.
4
Accept the terms
Tick the box to confirm you agree to the Verify Group Terms of Service and Privacy Policy. Links to both documents are displayed next to the checkbox.
5
Click Create Account
Click Create Account. You will receive a verification email at the address you entered.
6
Verify your email address
Open the verification email and click the Verify Email link inside it. This confirms that you own the email address and activates your account. You can now log in.
Joining an organisation via invitation
Most users join the platform by accepting an invitation sent by their organisation’s administrator rather than by registering independently.1
Open your invitation email
Look for an email from noreply@verify-group.io with the subject line “You have been invited to join [Organisation Name]”.
2
Click Accept Invitation
Click the Accept Invitation button in the email. You will be taken to a page where you can set your name and choose a password.
3
Set your password and submit
Enter your name and a strong password, then click Join Organisation. Your account is created and linked to your organisation automatically — no separate registration step is needed.
What happens after you log in
After a successful login, the platform takes you to the Dashboard — your central hub for everything happening across your organisation.- If this is your very first login, you may see an Onboarding wizard that guides you through creating your organisation and inviting your first team members.
- If your organisation is already set up, you will land directly on the Dashboard.
Explore the Dashboard
Learn what each section of the home screen means.
Run your first verification
Start verifying individuals right away.