

Overview
Verify Group includes a built-in Messaging system that lets your team communicate directly within the platform — without needing to switch to a separate chat tool. All conversations are organised into threads, making it easy to keep discussions about specific topics, claims, or verifications in one place. The Notifications system keeps you informed in real time about events that are relevant to you — a verification has completed, a claim has been reassigned, a participant has been flagged, or a teammate has mentioned you in a message.The Messaging centre
Opening your inbox
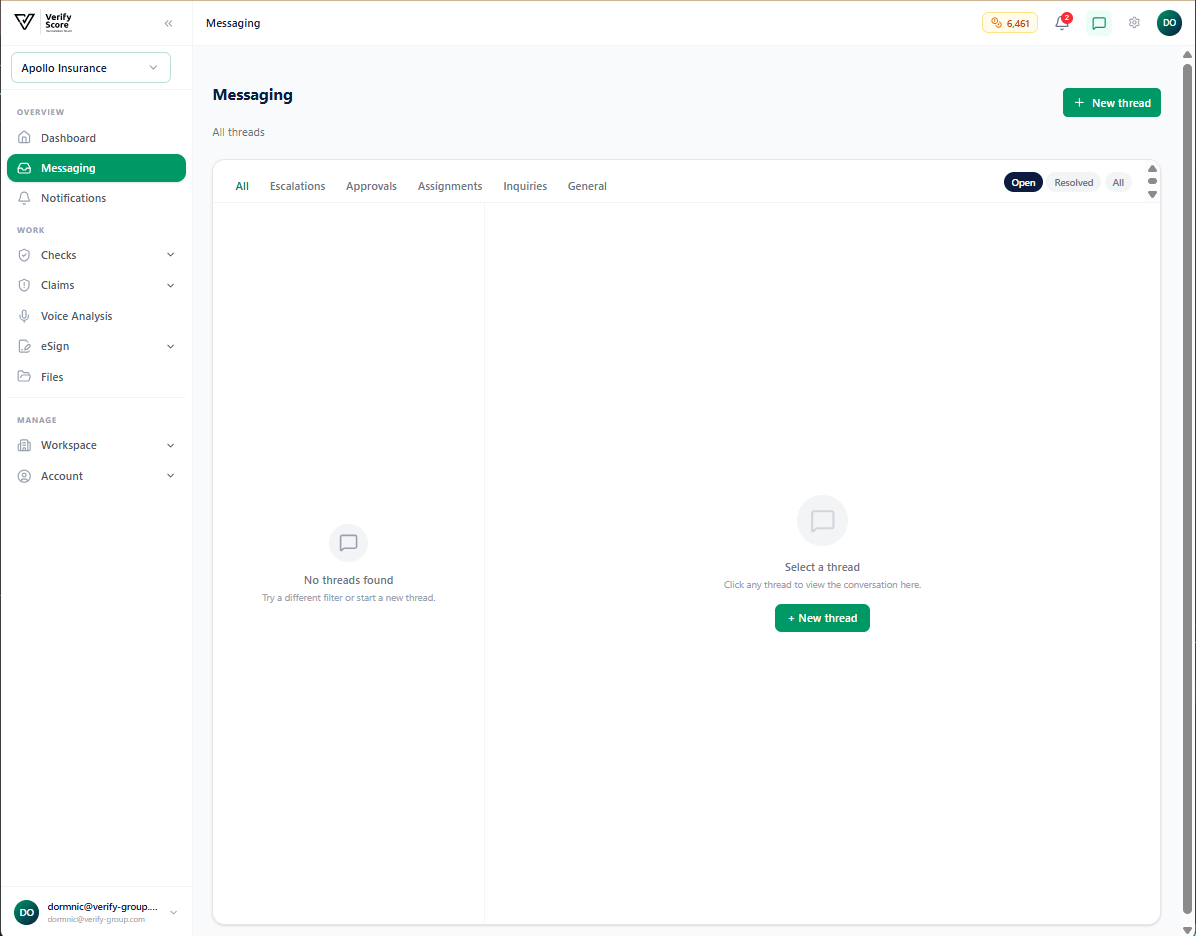
- The thread subject or the names of the participants
- A preview of the last message sent
- The time the last message was sent
- A badge showing how many unread messages are in the thread
Starting a new conversation thread
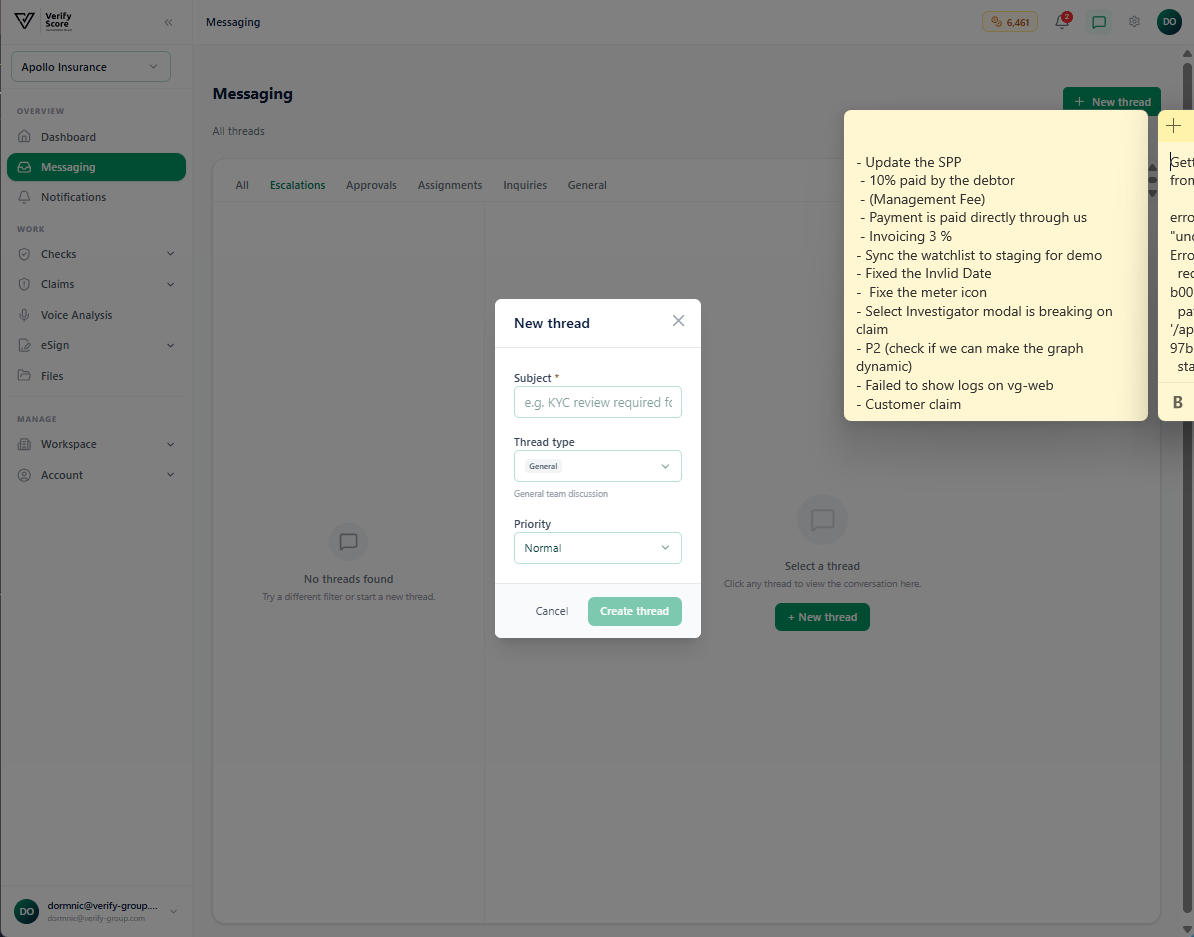
1
Click 'New Thread'
Click the New Thread button (pencil icon) at the top of the thread list panel.
2
Search for recipients
In the Add people field, type a colleague’s name or email address. Matching results appear as a dropdown — click a name to add them as a recipient. You can add multiple recipients to create a group thread.
3
Enter a subject
Type a Subject for the thread. A descriptive subject makes it easier for recipients to understand what the conversation is about and to find it later. Good subject examples:
- “MTR-24-00918 — Claimant verification query”
- “Q3 KYC Volume — Planning discussion”
- “Sanctions alert — Jane Doe review”
4
Write your opening message
Type your first message in the Message text area below the subject line. You can format text using the toolbar: bold, italic,
code, bullet lists, and numbered lists are all supported.5
Click Send
Click Send to create the thread and deliver your message. The thread immediately appears in your inbox and in the inboxes of all recipients.
Sending a message in an existing thread
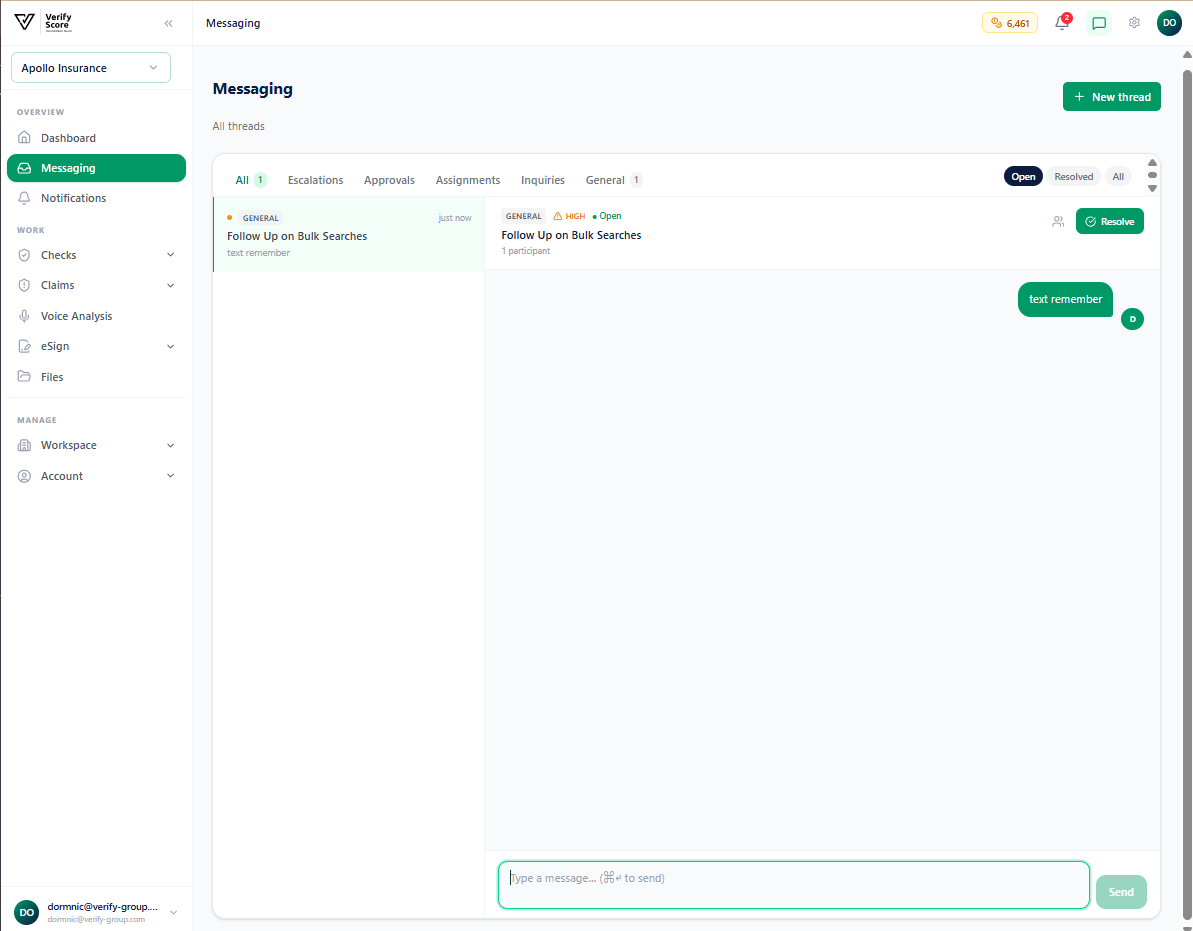
1
Open the thread
Click the thread in the left panel to open it in the conversation view.
2
Type your message
Click the message input area at the bottom of the conversation view and type your reply. You can use the formatting toolbar for rich text — bold, italic, lists, and code blocks are supported.
3
Attach files (optional)
Click the paperclip icon to attach a file to your message. You can attach documents, screenshots, spreadsheets, or any other file up to 25 MB. Attached files appear as downloadable links in the conversation.
4
Press Enter or click Send
Press Enter (or Shift + Enter for a new line) or click the Send button. Your message appears immediately in the thread for all participants.
Receiving messages
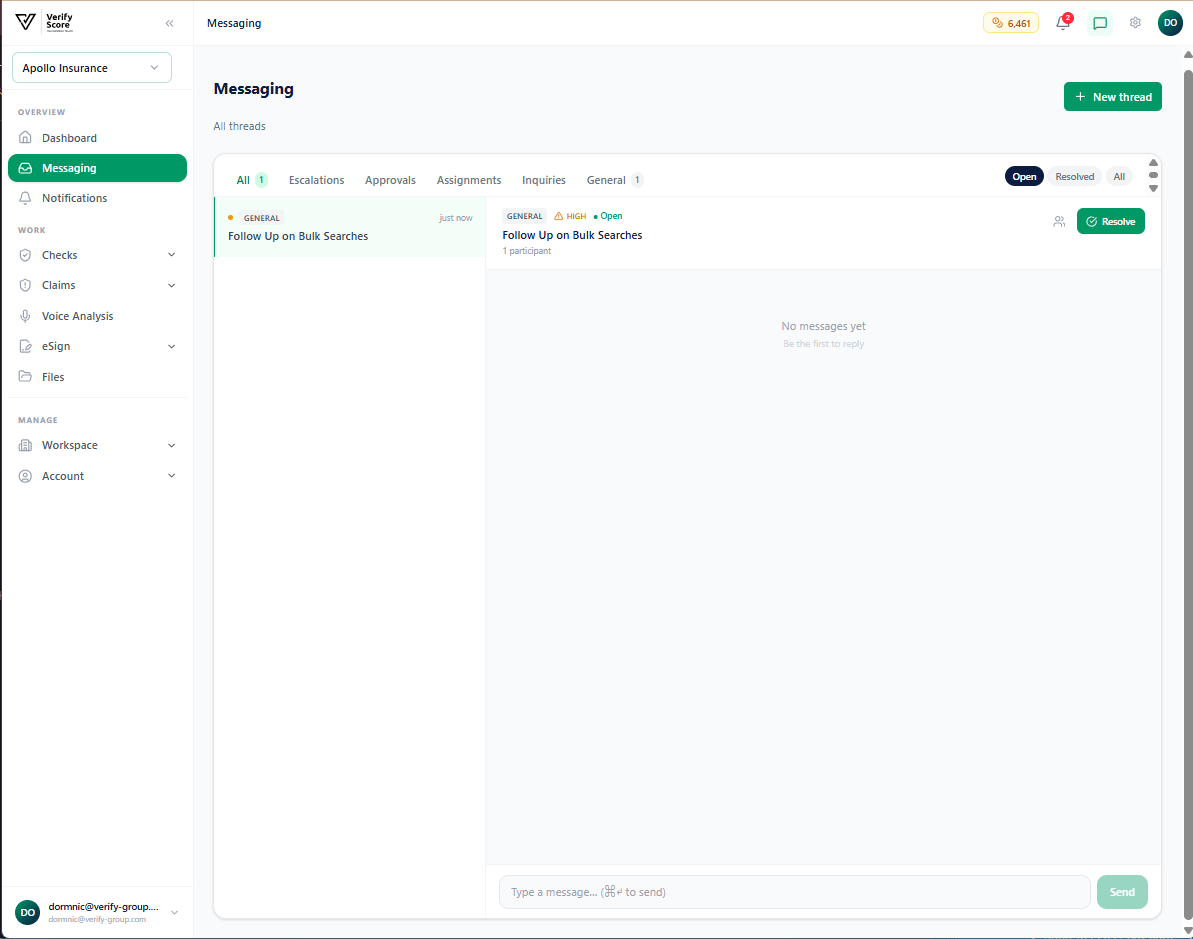
- Thread badge — The thread in your inbox shows a coloured badge with the count of unread messages
- Notification — A notification appears in the Notification Centre (see below) and optionally as a browser notification if you have enabled desktop alerts
- The sender’s avatar (an auto-generated image using their initials)
- The sender’s name
- The message content with any formatting preserved
- The time the message was sent
- Any file attachments as clickable download links
The Notification Centre
Opening the notification panel
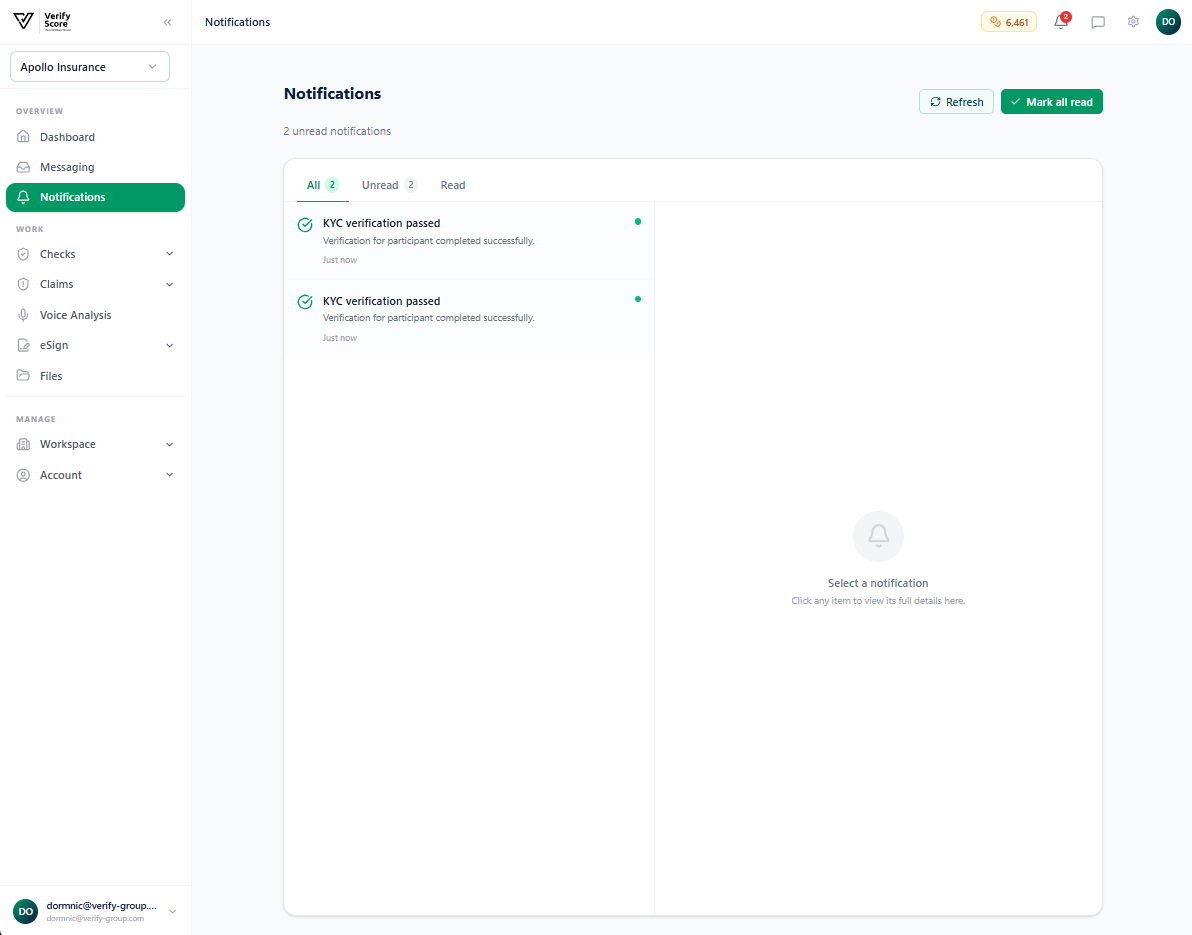
Managing your notifications
Marking as read: Click the checkmark icon on any notification to mark it as read. To mark all notifications as read at once, click Mark all as read at the top of the panel. Viewing all notifications: Click View all notifications at the bottom of the panel to go to the full Notifications page, which shows your complete notification history with filtering and search options.Notification preferences
You can control which notifications you receive by going to Account → Preferences in the left sidebar. On the Preferences page, the Notifications section lets you toggle specific notification types on or off:Tips for effective team communication
Use descriptive thread subjects
Use descriptive thread subjects
Always include the relevant reference number (claim number, participant ID, policy number) in the subject line. This makes it much easier for colleagues to find and understand the context of a conversation, especially when dealing with high volumes.
Attach evidence directly in messages
Attach evidence directly in messages
Instead of sending document links separately, attach screenshots, reports, and files directly to your message in the thread. This keeps all evidence in one place and avoids broken links.
Keep claim discussions in claim-specific threads
Keep claim discussions in claim-specific threads
Create a dedicated thread per claim for case-specific discussions. General team conversations (team meetings, policies, announcements) should be in separate threads so that claim-related discussions remain easy to audit.
Check notifications at the start of each session
Check notifications at the start of each session
Before starting your work each day, open the Notification Centre first to catch up on anything that happened since your last session — new claim assignments, completed verifications, and escalation alerts.
Next steps
Claims Management
Discuss specific claims with your team and manage the investigation workflow.
Dashboard
Return to your home screen to see a summary of all platform activity.